We are so excited to be part of the
BLOG PARADE OF HOMES sponsored by the fabulous
Poppies at Play !
So if you are new to our blog, let me tell you a little bit about myself!
I am Bonnie.
A mother of four young children and wife to one hottie husband!
I
love to refurbish things. I
love thrift shopping.(well...any kind of shopping truthfully) I
love photography and own my own
photography business.
So.....
Welcome to my home.
It is a work in progress.
My house is probably 80% or more furnished with second hand items that I have either repainted or re purposed! When we were asked to do this I thought "my home is not super spectacular or even close to the way I want it." But then I thought "It will never be how I want it. I change my mind all the time. And I love my home regardless."
So here it is!!
I love every moment of making this home beautiful. A home that fits our families needs.
I thought I would give you a few BEFORE links too. ( I am a sucker for BEFORE's)
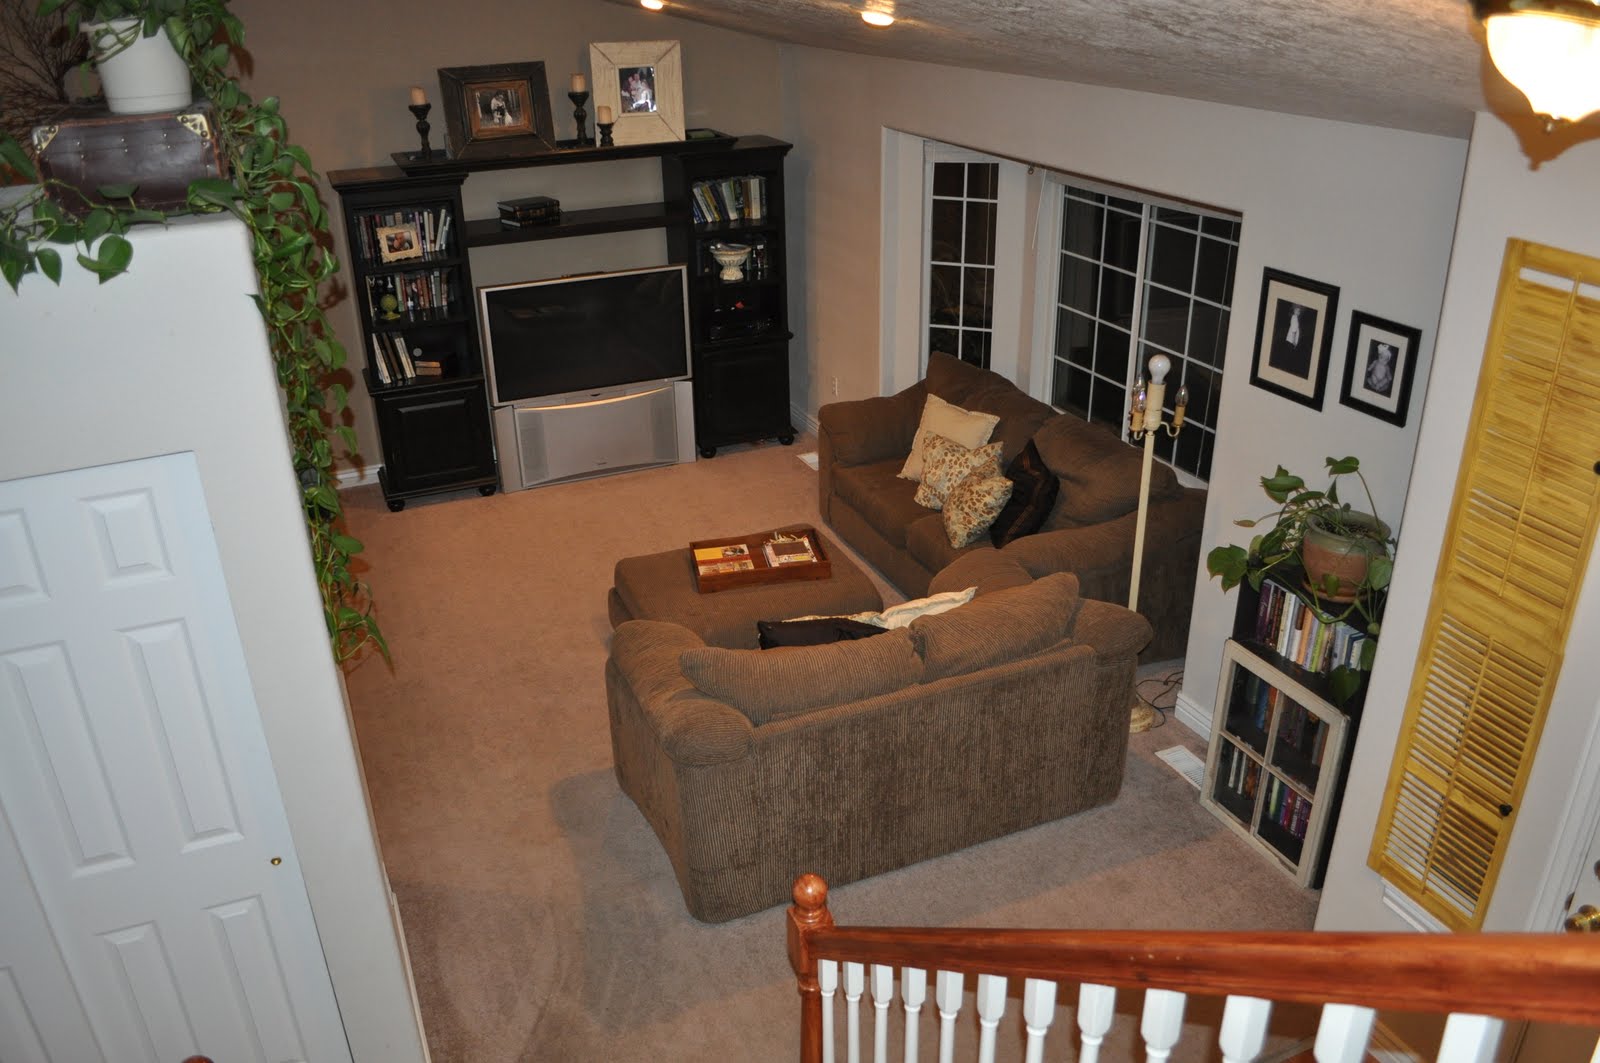
This is what you step into. A huge room.
Front Room, Kitchen, and Dining room!
I love my main living area.It is the heart of our home.
The place where we share our days, read together, and relax.
If you missed my kitchen makeover click
here.
Entry View...
You can click
HERE to see how it was when we first viewed it!
I made the wooden shelves, end table, and sofa table. Most of the pieces and vases you see I found at the thrift store. And mostly all the dishes are from a thrift store too.
I collect pots and vases. TOO many.
So I wanted to show you a small glimpse of our main bathroom. I showcase a good portion in there!
My girls room.
I just barely got some pictures blown up and I am making frames. So you will have to check back another day to see updates. But for now, this is what we have done!
My girls love there room! You can click
here to see some of the pictures that are going on the wall!
EEEKKK...I can't wait!
And the
Master Bedroom.
One of my favorite things about my room is that I have couple pictures all over of my husband and I! It is our sanctuary. I place that is all about us!
For now that is all I have to share. But keep checking back for more progress on my home!
And thanks for taking the time to get to know me better and view my home!
~~~~~~~~~~~~~~~~~~~~~~~~~~~~~~~~~~~~~~~~~~~~~~~~~~~~~~~~~~~~~~~~~~~~~~~~
Hello, My name is HANNA. I am one of the sisters that contribute here at Drab to Fab, and I am very excited to show you a few rooms in my home. I am married, have three beautiful children, and being inspired by my sister, I also have my own
Photography business. I come from a family of six girls, and two boys, and have been taught that being Frugal is Fabulous! I enjoy collecting thrift goods, refurbishing old finds, and making my house a place that feels cozy and fun. As garage Sale season is approaching, I can hardly wait! I am Queen of the Thrift Stores/Garage Sales, and proud of it! Just like my sister, my house is about 85% handmade or refurbished. I Hope you enjoy our home, and come back and visit us.
WELCOME!
You walk right into the great room.
Angled back to the front door.
You might recognize this Hutch ( above) from an earlier project I posted
HERE. The frame to the right was originally gold, but with a little spray paint and scrap paper, It has a whole new look. Oh, and the suit case up top was a garage sale find. I love adding a little whimsy to my home.
The only thing bought at a store on this half of the room, was the table and chairs..On SALE of coarse! The rest is either from garage sales, given to me, or from the DI(Our Local Thrift Store).
I love this time of year, when we trim the tree's and get ready for Summer. I always use the left over tree branches for their scent and to add a little drama to the room. The dishes are from the dollar store. What can I say, I love a good deal!
The table on the left is handmade. Me and my sisters have all made these. We will have to do a post on them later! The
BIRD CAGE and old books are DI finds ( I'm a bit obsessed with bird cages lately, and have about 4 around my house). The decorative balls and fancy bowl were both given to me. The robin egg blue table was another garage sale goodie! Plant and pot given to me as well ( I am also a bit of a plant freak!).
This is one of my favorites. This dresser was left in an old storage room where my sister used to work. I took out the bottom four drawers, painted it,stained it, &modpodged some cute paper inside. It fits perfectly under the bay window, and is used for snacks and my white dishes ( collected from various thrift stores!).
We posted a Tutorial
HERE on how to make these fence post candle sticks.
The
TOPIARY on the left hutch was a DI find. I painted them and added numbers for the kids. I painted the
SHUTTERS ( Given to me off of an old house) by the front door yellow to match the Hutch. The small shelf on the left was given to me from a friend that was moving. I painted it black, scuffed it up, and attached a window that belonged to my great grandmother. ( Again another obsession of mine, WINDOWS!)
Now for the girls room. WELCOME!
The white Armoire used to be a book shelf. I took out the shelves, attached shutters for doors, Painted, scuffed, and hung up some rods for the cloths. The red and white one was another dresser. I took out the top three drawers( which I always save for later projects), knocked out the dividing wood, painted, and attached a rod and shutters. I made the window valance out of 1x4 wood, and modpodged cute paper on the outside to match. Oh, and another bird cage. I told you I can't get enough of them. What's the reason for 2 Armories you might ask?? Just wait!

The right wall has an old fence attached all the way across. It was being thrown out at a friends house. Another window from my Great Grandma's, modpodged to match. And as you can see, the closet is now a bunk bed! This is my favorite part of their room. I envisioned it, and my husband was the muscles behind it. Yes, it's safe. He and I can both sit up top, without a budge. We used 2x4's, bead board, railing, trim, culk, paint, and a ton of pin nails and screws. Another window valance with different paper hung over the top.
These are the extra drawers from the red and white Armoire. We actually lucked out, and without measuring they fit perfectly.
On the opposite wall we hung an old gate from our first house. Not only did it add character, but it also has sentimental value. The girls hang their art work, and pictures on it. The mirror table on the left was left at our old house. I painted it, leaving paint on the mirror, and scuffed it up. I also made the tea table in the center of the room. It was an old end table, with a circular piece of wood attached to the top. The chairs are all from different garage sales.
I wanted to accomplish a shabbby yet modern feel, and the girls are in love.
I hope that you enjoyed my home as much as we do, and that you leave feeling inspired to create.