Showing posts with label Kat. Show all posts

Wednesday, February 15, 2012

Valentines Wreath

I know it's a day late, but you can use this wreath heart even if it's not V day.  Very easy, but pretty time consuming to complete.

I can't take credit for this craft, as an awesome friend in my neighborhood actually made one first & got the supplies for a bunch of us that do craft day together.  But I thought I would share with all of you, because it is such a cute idea.

buy an inexpensive foam wreath heart

Red felt.  trace circles & cut them out (this part takes quite a while.  and you need A LOT of circles to fill up your wreath!)

Fold your circle in half

Fold in half again and put a pin in it.

Heres a short video tutorial on how to fold your circle.

Pin it on your wreath & Repeat with each felt circle.


back of the wreath.  You don't have to put the felt circles on the back, because no one will see it & it will sit flush with your door/wall if you keep it blank.  Add a ribbon to hang your wreath.

Finished product.

I LOVE it!  

Hope everyone had a great valentines day!!!

Friday, February 3, 2012

All that Jazz

This is another simple painting project!

My husband HATES colored walls. He doesn't necessarily love white walls either.  if he has his way, every wall in our house would be tan... BORING!  So, I decided to compromise.  I told him I wouldn't paint our family room (Jazz music themed) a bright color, IF he let me paint the furniture whatever color I wanted.  He was hesitant but finally gave in! 
boring plain end tables


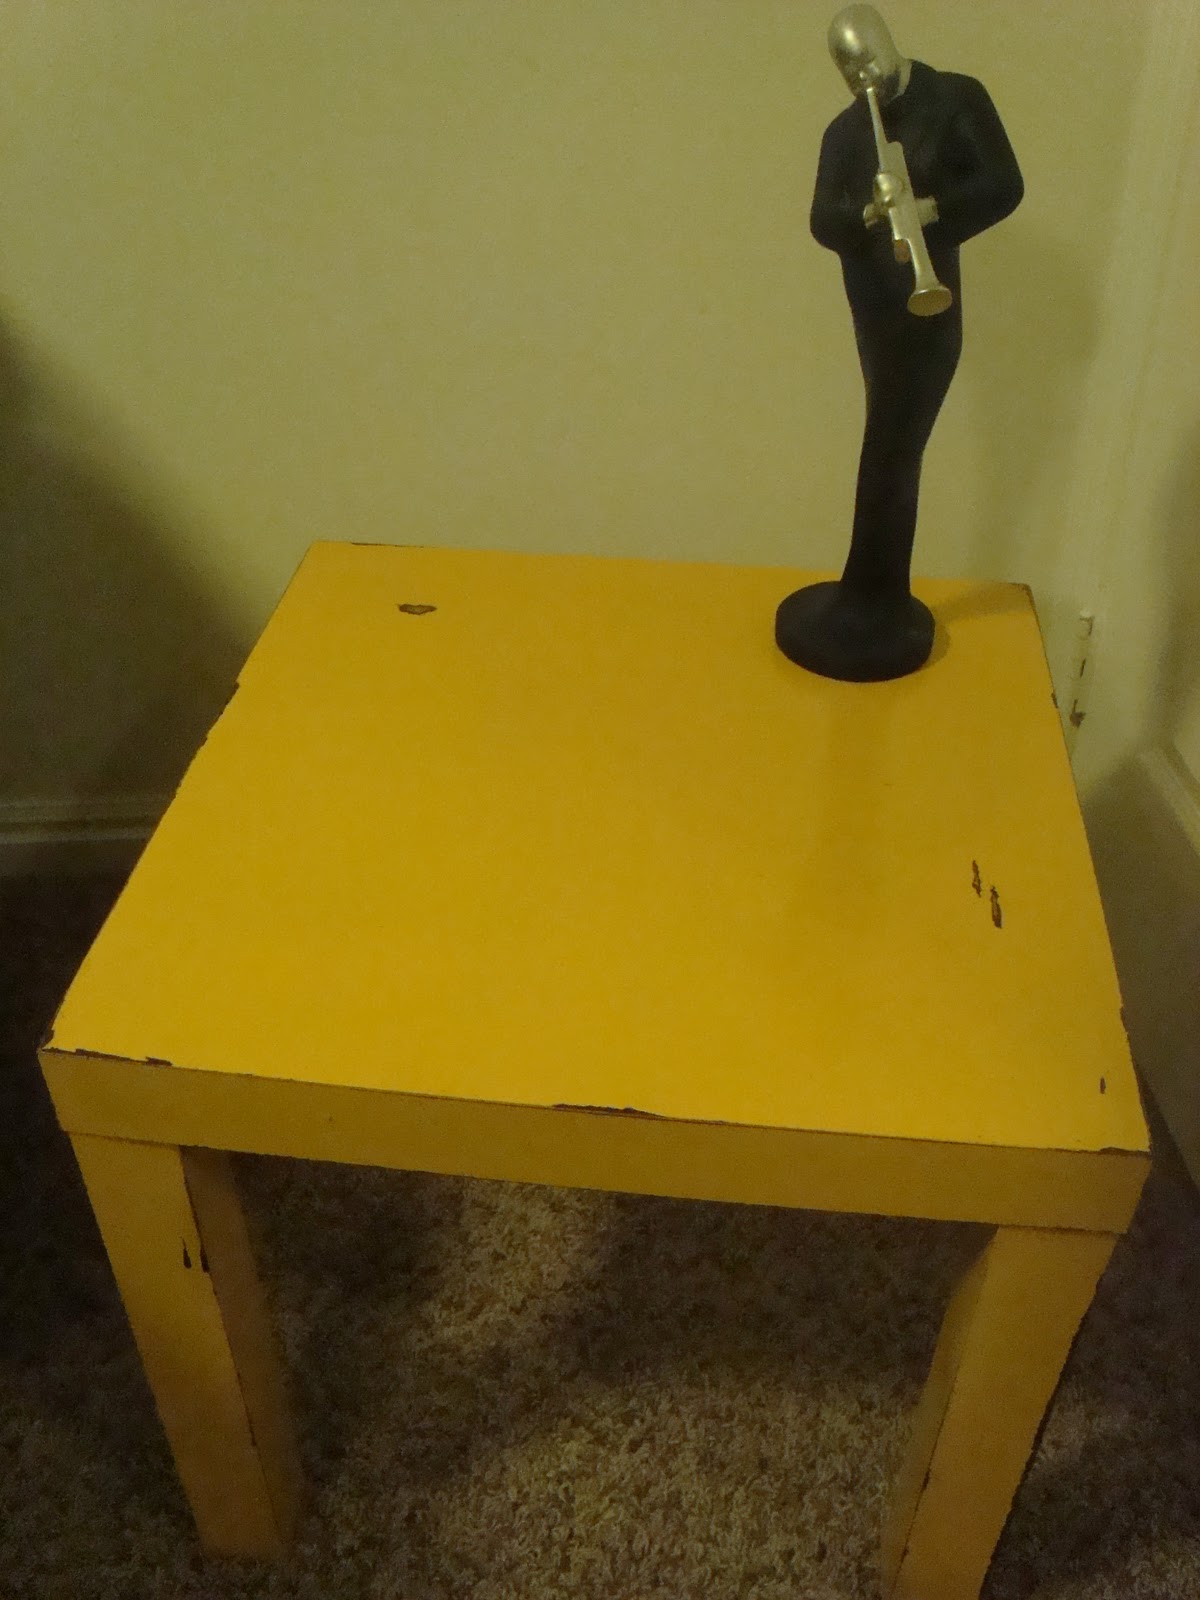
Paint them yellow (I didn't sand them down before I painted.  I SHOULD have, because it took me 4 coats to get this covered!)
scuff up the edges & add some scratches to the top with simple sandpaper!
Spray painted some end table decor/ room decor for my family room.
More spray painting - no more plain black candlesticks

add pieces to the end tables (the purple wicker basket underneath holds  my babies wipes/diapers/creams for when we are downstairs and I don't want to run upstairs for a diaper change.)

And the coffee table, i DID sand this one down (luckily)

I Painted it black first, and then lime green, so when you scuff it the black shows through!

Sprayed it with a gloss finish so it wouldn't be sticky and so the paint wouldn't get scratched off.  (Had to bring it inside to dry, outside is far too cold.)

Finished product.
 My Husband was actually pleasantly surprised at how much he liked the bright furniture!

Monday, January 23, 2012

Easy Party Lights!

Super simple way to spice up lighting at a party! Or to spice up any type of jar for holding party favors/utensils/napkins/etc... Really, the uses are limitless!

Take any size or shape jar/vase- clear, & add rubber bands around it.  Be creative.  The rubber bands can be straight, curvy, overlap, try a few different ways until you find what you like!

Spray paint a color of your choice & Let Dry!

Pull off the rubber bands, and TADA: Super cool Jars!!!

I happened to use these ones for the Breaking Dawn Pt. 1 party I hosted! (little tea light inside the black vase)

Bonnie is the only sister that wasn't able to come.  We missed her a lot!  This is our mom, five of the sisters, and both sisters in law!

And a picture of a few of us with Edward and Bella at the Premiere!
WHAT WILL YOU USE YOUR VASES FOR?

Wednesday, January 18, 2012

Kitchen Home Organizer

My Husband Brought home a crate lid to an old crate box about 4 years back.  I have been dreaming of making a kitchen organizer with it, and I finally did it!  It was actually super simple.  
Wish I would have done it earlier.

Took the cork part of a corkboard I already owned and cut it to fit in half the crate box lid!

Next, I added Scrap Paper of my choosing around the border.  I decided to use a solid print in case I ever decide to change my kitchen decor!

Scuff up edges with Ink!

Filled the other side with Cardboard to more easily work my calendar plan

Cover the cardboard with paper color of your choice. again I chose solid colors.

Added a rectangle piece of sheet metal for a magnet board!

Found an awesome website to print out some calendars!
http://www.printfree.com/Calendars.htm
A Three month plan!  Every third month is the same color paper!

Purchase a few clasps that you would use for file folders. (Acco File Fasteners).  Punch them through on the BACK of the cardboard BEFORE you glue the cardboard into the crate lid. That way only the clasp parts are sticking out! 
This is the glue I used for most of the job- to attach the cork & the cardboard down to the wood!


Almost done.  I wanted some type of basket to attach under the magnet board to hold pens, important mail/envelopes, etc....
  

Found the perfect holder (five months later) at D.I. for 50 cents!!! Nailed it in with two short nails!

And Viola!  All done!!!

I can't even remember what I did before I had this.  I use it every single day, and I get many compliments!

Now go out and make your own Organizer!!!

Wednesday, December 14, 2011

Do it yourself TREE DECOR!!!

So, this has four D to F ideas all wrapped up into one.  Each are do it yourself Ideas for your Christmas Tree.

#1:  Break down a wreath and use individual pieces as decoration.  
#2: Cereal Box Stars  
#3: Scrabble words
#4: Bird Nest Topper

Got a wreath made up of these sprigs all woven together for $2 at the D.I. This is what it looks like broken down to it's most basic piece.
I used most of the wreath for my Pot Rack about two years back but still had a bag full of  extras!

Remember these?  Look back at THIS post for instructions! It seemed too plain.  I wanted it to POP!!!
After you've made these stars, grab some Elmers Spray Ahesive & A large jar of clear glitter from JoAnnes!

Spray your star, cover in glittler.  Shake off Excess and VIOLA!  (WARNING: the spray adhesive is very tacky  so make sure you lay something under the product you are spraying.  Especially because it has a lot of overspray!)

So Glittery!!!


Scrabble Decor.  Super Simple.
#1: Lay out your letters
#2 Hot Glue them Together
#3 Hot glue a piece of twine for your hanger
#4- Hot glue a piece of ribbon over twine on back (see pic below)

Adding the ribbon strip guarantees that if your scrabble ornament happens to break,  no pieces will be lost!!!


Bird next for top of my tree.  It was actually a wicker ball that I shaped into a nest.  Sprayed it with spray adhesive and rolled it around in the left over glitter from my stars from above.   Added a little bird that was on a random piece of holiday decor I already owned.


Had to show you this super cute tree skirt my amazing friend Briana MADE!  She gave it to me last year as a Christmas Present (Seriously?  I was in heaven!!!)


Finished Tree. It was fun to drape my bead garland from the top instead of wrapping it around the tree!!!  The tree is still pretty bare, but it's the first year I've made my own decor, and it was super inexpensive.  Most of the items I already had lying around the house.

Speaking of D.I... if you wanna see us sisters find a bargain, check out our D.I. blog HERE!!!
Hope this helped get your creative juices flowing to make your tree one of a kind!

Tuesday, November 8, 2011

Book Page STAR

In Keeping with my book page Christmas Theme for this year, I am making star ornaments for my tree.  Soooo easy to make.  Buying these type of stars at the store are usually anywhere from $5-$10 a piece.  This one:  FREE NINETY FREE!!! And it seriously only took me 5 minutes!
You only need these 6 things to create these GORG stars!!!
Draw a star on a cereal box in any ol' way you'd like with permanent marker.
Cut out star and add score markes.  from tip to center, and from inner corners to center.  Score each with a box cutter (be careful not to cut all the way through.)

Cover side Opposite of the scores with an old book page.  Then cut off the excess.


Flip over, fold, then Ink to your hearts desire!  Now it's ready for your tree!!!
Now go make some ornaments of your own!!!