Friday, December 31, 2010

Farewell to 2010

We have had so much fun this year sharing ideas, sharing of ourselves,
and most of all getting to hear from all of you.  
 We feel inspired from so many of you!

THANK YOU 
for your support and love!

We are looking forward to 2011.
We have plenty of fun new ideas in store for all of you.
Some new changes too!

Here is a small look back of 12 projects throughout the year!


Now let's head into 2011 with renewed motivation!

Thursday, December 30, 2010

Drab to Fab Frame

I couldn't have found a more perfect frame, for a gift, to some people I love!
Vintage, Ugly, but Fabulous!

This chintzy gold has gotta go!
But the curves and details.....it was LOVE at first sight!

 Nice thick coat of black high gloss spray paint!
Looking better.....

Applied some RUB n BUFF!! 
Get yours here!  
You won't regret it!

 And now you have a beautiful antiqued frame!
Perfect for their customized family tree!
Linking up to

giveaways

Monday, December 27, 2010

Fabulous Frames

The possibilities are endless with FRAMES!
So we decided that at least once a month (maybe even more) we would show you something FAB to do with frames.
It may be our own ideas, a previous post, or even a "Feature Post"  featuring one of you!
(So if you have a great idea using a frame email it to us!)

This week we will show you how to turn old frames into wall art!

Gather up all of your old frames and decide which shapes and sizes you want to use! 
(image from fickr)

Now pull out the trusty spray paint, tole paint, or whatever you may use to add some pizazz! 
Paint away! 
 (image from flickr)

Now that you have all of your frames painted. 
Accesorize!
I bought some scraps of material to frame in a few of my frames for added detail! 


Lay out all of your frames and start creating piece by piece until it is just right! 


I still needed some color so I used silicone and glued another frame in the center of the blue one!


The best part is enjoying your finished product! 
I am sure as I find great frames I will be adding to this! 


Now to do the same above their bed! 
Just need a few different looking pieces before I can show you!
So watch for that!

Linking up to..
 
http://thediyshowoff.blogspot.com/


Saturday, December 25, 2010

Wednesday, December 22, 2010

Christmas Cookie Recipe....

We usually don't do recipes on Drab to Fab, but desperate times call for desperate measures. I have to be honest and let you all know I was planning on sharing another craft, but I was so busy doing last minute Christmas errands that I never got a chance to do it. Instead of letting you down, I came up with plan B.....My favorite Christmas cookie recipe! This cookie is one of those that get better & better with each day that goes by, and I promise it is a crowd favorite! You are going to want to triple the batch they are that good! Plus they will look so cute on one of those Cupcake stands that I showed you earlier!

Mint Chocolate Christmas Cookie 


Ingredients:

3/4 c butter

1 1/2 c brown sugar

2 T water

1 12 oz pkg. of chocolate chips (semi-sweet or milk – your choice!)

2 eggs

2 1/2 c flour

1 1/4 t baking soda

1/2 t salt

1 bag or 2 boxes of Andes Mint Candies

~ Melt butter, brown sugar, water, and chocolate chips slowly in a pan.

~ Pour into mixing bowl and add eggs, flour, baking soda, and salt. Mix together well. Refrigerate dough for 1 hour. (Very important step!)

~ Preheat Oven to 350 degrees after refrigerating dough.

~ Line cookie sheet with foil and place dough in round spoonfuls.

~ Bake for 8-12 minutes. (I like them a little gooey!)

~ Immediately after removing from the oven, place an Andes Mint on each cookie. Allow it to melt for a minute or so, then spread the mint over the top of each cookie with a knife.
Enjoy.


Vintage Cupcake Stands....

Can I just say, "I am obsessed with these little lovelies!" EEEEEEK, I am so excited to share this project! I have been making them left and right, and for every occasion. I chose a white and Silver color pallet. It being  Christmas and all. 

Here's the skinny ~
Chose the amount of stands you want, and your color pallet. Go to your local thrift store, and they have thousands of options. I love the vintage looking cups and plates. I paid, .25-.50 cents for the tea cups, .75 cents for the small plates, and .75-1.00 for the large plates! Such a bargain!


♥ the double handle on the left tea cup!
Find the same amount of plates to match!


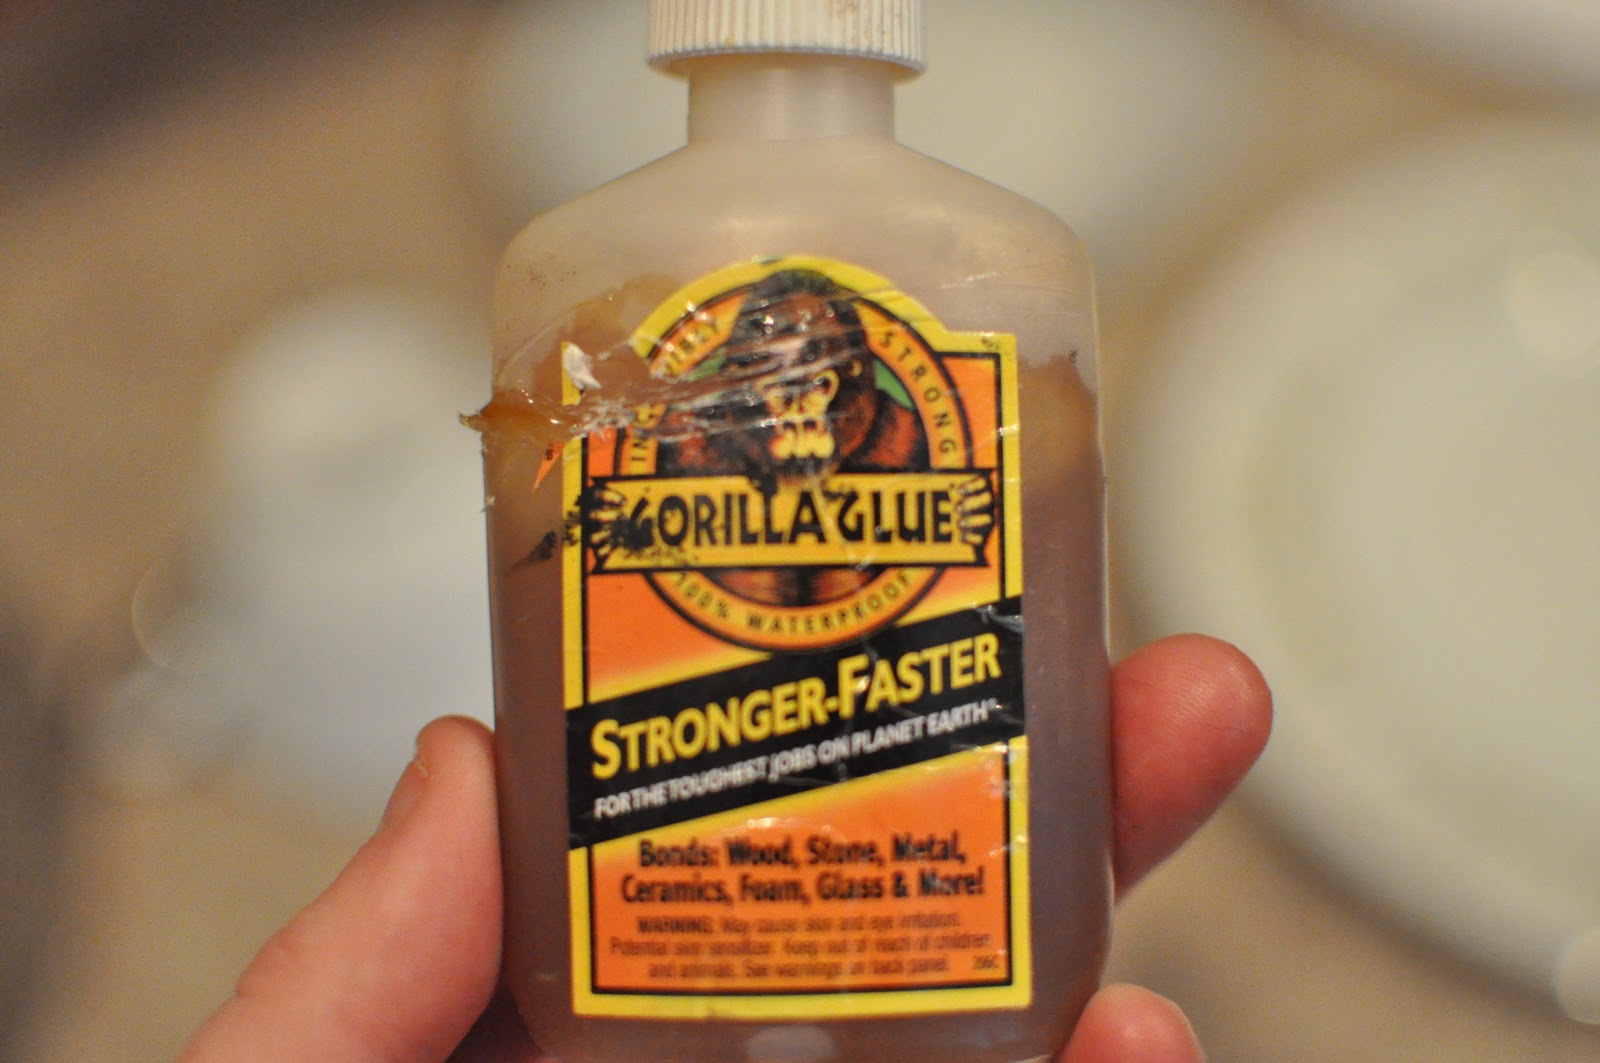
Pull out any kind of trusty adhesive. I used Gorilla glue, but I have also used liquid nails. Both found at Walmart!


Next, turn the tea cup upside down and attach the plate faced upward! I let it dry over night to make sure it is secure.

Aren't they just FABULOUS?!......Not to mention so fancy, and perfect for any occasion! I cannot wait to use this same idea for my daughters birthday, with every size of cupcakes!


You can even go as far as a double and triple decker stand! I think a glass triple decker stand would be MaGnIfIcO!


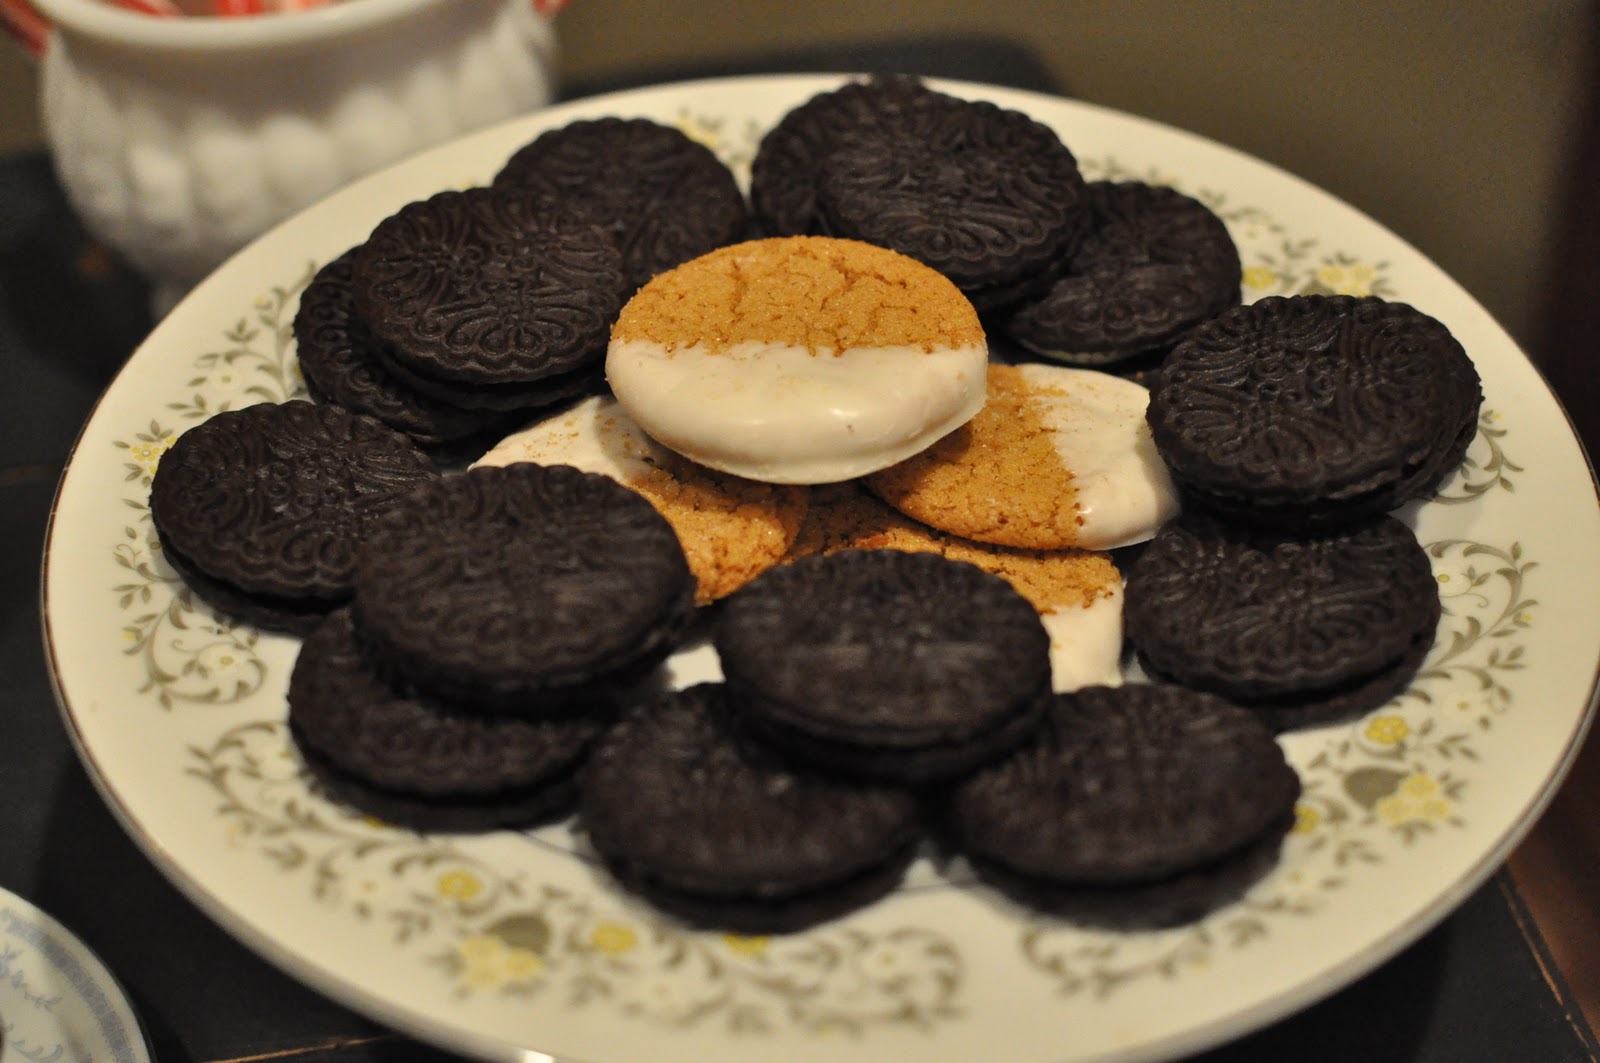
I also bought some pure white ones to go along with my white dish collection, and some Funky yellow and brown. Can't wait to get me hands on them! Just in time for a holiday cookie exchange. Can you imagine the oooo's and aaaaaaw's over these?! No excuses ladies,  go out and find something fabulous!
Linking up to